DIY Home Theater Room: What You Can Build Yourself vs. What Needs a Pro
A private cinema room is one of the few home improvement projects where a motivated homeowner can genuinely do the majority of the meaningful work — and still end up with a result that rivals professional installations. The key is understanding which parts of the job fall within that zone and which cross into territory that requires licensed trades.
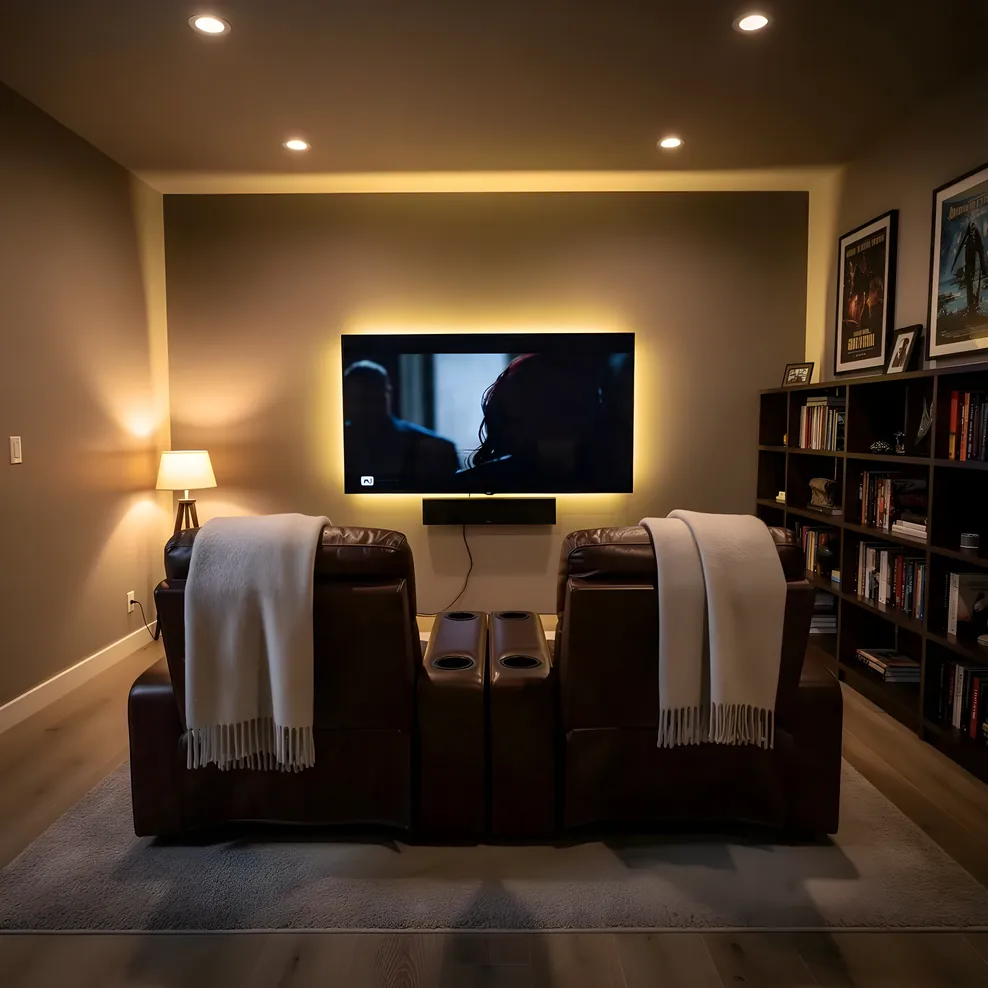
This guide draws a clear line between the two, covers a step-by-step for a basic DIY setup, and addresses the California-specific electrical rules that matter most for Bay Area homeowners.
What Homeowners Can DIY
Equipment Selection and Room Planning
Choosing your projector, receiver, speakers, and screen is entirely your call — and it's where time spent pays off most. No contractor can make these decisions better than you can, because no contractor knows your room geometry, viewing habits, and budget the way you do. The planning phase for your home cinema design establishes the decisions everything else flows from.
Get the room dimensions right first. A common mistake is selecting a 120-inch screen before confirming the projector's throw distance fits the room. Measure your wall-to-seating distance, then work backward to screen size and projector placement. Room dimensions and seating layout determine what equipment actually works in your space.
Acoustic Panel Placement
Acoustic treatment is one of the highest-leverage DIY tasks available. You don't need to frame walls or pull permits. Most acoustic panels mount with French cleats or Z-clips on standard drywall, and repositioning them until you find what works is part of the process.
The priority order for panel placement:
- First reflection points on the side walls (roughly one-third of the way from the front of the room, at ear height when seated)
- Front wall behind the screen, if your screen doesn't cover the full wall
- Rear wall diffusion or absorption, depending on room depth
- Corner bass traps at all four floor-to-ceiling corners
Start with the side walls and listen before adding more. Over-treatment can make a room sound dull and lifeless. The ability to iterate without tools is why acoustic treatment belongs in the DIY column.
Cable Management
Running cables along baseboards, through raceways, or across the ceiling with surface-mount conduit is homeowner work. Low-voltage signal cables (HDMI, speaker wire, subwoofer coax) are not subject to electrical code requirements — they can be run in any direction, bundled with basic cable ties, and fished through finished walls without a permit or license.
Good cable management matters more than it looks. Bundling power cables with signal cables introduces interference in sensitive analog runs. Keep power and signal separate, label everything before you close up any panels, and plan for one or two extra conduit runs you don't need yet — future equipment changes will use them.
Calibration
Modern AV receivers include auto-calibration systems that use a supplied microphone to measure your room and adjust speaker levels, distances, and EQ automatically. Run the calibration process after all speakers are in their final positions and the room is furnished. Furniture absorbs sound; an empty room calibrates differently than a furnished one.
For more precision, a dedicated USB measurement microphone (around $75–100) and free software can show you what your room is actually doing and let you target corrections manually. This level of calibration is completely DIY-accessible and produces results that justify the time.
What Needs a Licensed Professional
Electrical Work: The Clear Line
California law draws a straightforward boundary. Low-voltage work (anything running signal, not power) is homeowner-legal. Any work touching the home's 120V or 240V electrical system requires a licensed C-10 electrical contractor and, in most Bay Area jurisdictions, a permit.
For a home cinema room, professional electrical work typically includes:
- Dedicated circuits for the AV receiver, projector, and amplifier (these components benefit from being on their own circuits rather than sharing with lighting or other loads)
- New outlet placement for a projector mounted at the ceiling
- Panel upgrades in homes with 100A service or older fuse boxes — common in pre-1970 Bay Area construction
- GFCI and AFCI compliance for circuits added to bedrooms or spaces being converted
California's electrical code (which follows the NEC with state amendments) additionally requires AFCI protection on all bedroom circuits — relevant if you're converting a bedroom to a cinema room. This is not an area to improvise. Unpermitted electrical work affects your homeowner's insurance coverage and becomes a mandatory disclosure item at resale.
In-Wall Wiring in Older Bay Area Homes
Running speaker wire or HDMI through finished walls is technically low-voltage and homeowner-legal, but in Victorian, Craftsman, and mid-century homes it quickly becomes a professional job in practice. Plaster-over-lath construction doesn't behave like modern drywall. Firestops at mid-wall height block fish tape runs. Ceiling joists often run the wrong direction for the path you need.
The challenges specific to Bay Area housing stock make in-wall work more time-intensive and damage-prone than the same task in a newer home. Many homeowners start this work themselves and bring in a low-voltage installer to finish when the practical reality sets in.
Ceiling Mounts in Older Construction
Mounting a projector to a plaster ceiling requires hitting a joist or installing blocking between joists. In older homes, joist spacing and direction aren't always what you expect, and plaster is brittle in ways drywall is not. A dropped projector is an expensive and potentially dangerous outcome.
If you're unsure what's above your ceiling or can't confirm joist location with confidence, this is worth a professional assessment. A low-voltage installer or handyperson with experience in older construction can anchor a mount properly for a few hundred dollars — significantly less than replacing a dropped projector.
Structural Changes
Any modification to the room's structure — framing a new wall, adding a soffit to house equipment, dropping a ceiling for acoustic isolation, or cutting new openings — requires permits and typically involves a licensed contractor. California's seismic requirements add considerations that don't apply in other states: wall framing in a seismic zone has lateral bracing requirements, and even interior partition walls benefit from proper attachment to the floor and ceiling plates.
Step-by-Step: Basic DIY Home Theater Setup
This sequence applies to a room conversion using existing space, without in-wall wiring or electrical upgrades.
Step 1: Finalize room dimensions and screen placement. Measure the viewing distance from your primary seating position to the front wall. Use a 1.6:1 ratio as a starting point — if you're sitting 12 feet back, a 120-inch (10-foot diagonal) screen puts you at roughly 1.2x screen height, which suits most content well.
Step 2: Choose projector and confirm throw distance. Short-throw projectors work in compact spaces; standard-throw models need more room but are generally less expensive for equivalent brightness. Check the manufacturer's throw ratio against your actual room measurement before purchasing.
Step 3: Block light sources. Blackout curtains or cellular shades rated for near-total light blockout make a meaningful difference in daytime viewing. Seal door gaps with door sweeps. Light control costs very little and has a large impact on perceived image quality.
Step 4: Position speakers before running any wire. Put speakers in their intended positions temporarily and listen before committing. Speaker placement relative to the listening position affects imaging and bass response more than speaker quality in many cases.
Step 5: Run cables with routing planned. Map your cable path before buying lengths. Add 15–20% to your measurement for routing around corners and through furniture. Run all cables before mounting anything permanently.
Step 6: Mount screen and projector. Fixed-frame screens go up first. Confirm the screen is level before the projector goes up. Mount the projector with the lens center aligned to the screen's intended image area; most projectors have limited lens shift and won't compensate for poor mounting position.
Step 7: Place acoustic panels at first reflection points. A simple test: sit in your listening position and have someone hold a mirror flat against the side wall, moving it forward and back until you can see the front speaker in the mirror. That's your first reflection point. Mark it and put a panel there.
Step 8: Run auto-calibration. Place the calibration microphone at your main listening position, ear height, and run the receiver's auto-setup. Then adjust individual speaker levels by ear if something sounds off — the auto-calibration result is a starting point, not a final answer.
Step 9: Manage cable clutter. Bind cables in groups (power separate from signal), label both ends, and secure runs to walls or baseboards. A well-managed rack or cabinet makes future changes far less frustrating.
Tools You'll Need
For a basic surface-mount DIY setup without in-wall work:
- Stud finder
- Drill/driver with appropriate bits
- Level (a 4-foot level is useful for screen mounting)
- Tape measure
- Cable ties and surface-mount raceways
- Label maker
- USB measurement microphone (optional but useful for calibration)
- Torque driver for projector ceiling mount hardware
If you're considering projector placement and screen sizing, those decisions feed directly into where and how you mount.
Common DIY Mistakes
Buying equipment before measuring the room. Screen size, projector model, and speaker placement all follow from room dimensions. The order matters.
Running speaker wire parallel to power cables. Interference is real in long runs or with sensitive components. Cross power and signal cables at right angles if they have to interact; don't run them bundled together.
Skipping acoustic treatment because the room "sounds fine." Untreated parallel walls create flutter echo that makes dialogue hard to follow at volume. Even four corner bass traps and two side-wall panels make a measurable difference in a typical room.
Calibrating in an empty room. Furniture, rugs, and acoustic panels all change the room's response. Calibrate after the space is fully furnished and panels are in place.
Mounting before confirming throw distance. A projector mounted 2 inches from where it should be may fill the screen incorrectly and have no way to correct it with lens shift alone.
Ignoring seating height in riser planning. If you add a raised seating platform for a second row, confirm the finished floor height doesn't put heads at the ceiling-fan line or too close to the ceiling for acoustic comfort. Seating layout and sight lines require planning before anything gets built.
Planning Your Next Step
The DIY scope described here covers a genuinely capable home cinema setup. For in-wall wiring, new electrical circuits, or structural room modifications, a Bay Area AV integrator or licensed electrician brings the expertise and permits that protect your home and your investment.
Return to the Bay Area Home Theater Guide for a broader look at what home cinema design requires in Bay Area homes — from older electrical panels to permit timelines to what dedicated room construction actually costs here. The full guide collection is at Bay Area Home Cinema.