Home Theater Projector Screen Guide
The screen is half the display system. That is not a figure of speech: a projector throws light onto a surface, and the properties of that surface determine how the image actually looks. Screen type, material, gain, and size all interact with your projector and your room in ways that cannot be separated from each other. Getting the screen wrong can undermine a projector that costs several times as much.
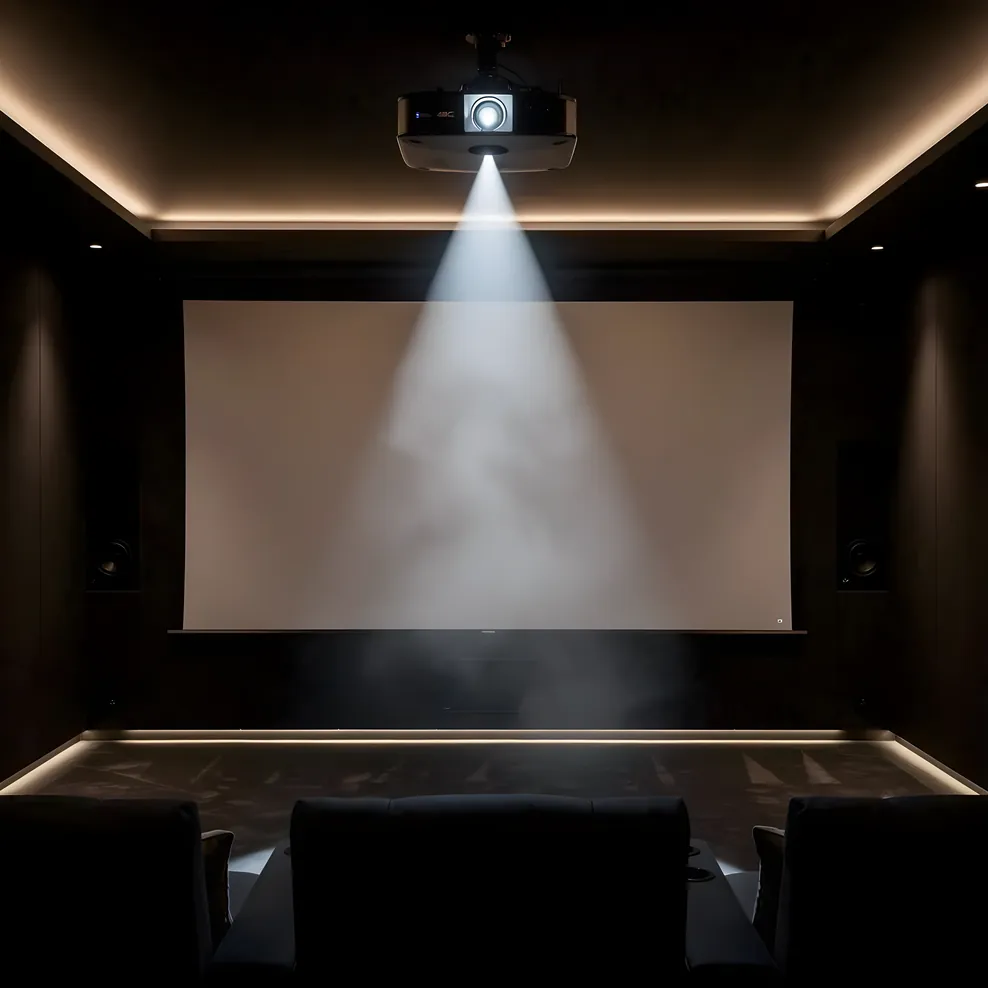
This guide covers how to choose the right projection screen for your space: the differences between screen types, what screen material specifications mean in practice, how aspect ratio affects your content choices, and how to size a screen for your room's geometry and seating distance.
If you are still deciding whether projection is right for your space at all, start with the projector vs TV comparison before working through the screen selection decisions here.
Why the Screen Type Matters More Than Most Buyers Expect
Many homeowners treat the screen as an afterthought, spending most of their budget on a projector and then selecting whatever screen fits the remaining budget. The image they get does not reflect what the projector is capable of delivering.
A high-quality fixed-frame screen on a well-mounted surface produces a flatter, more consistent image than the same projector pointed at a standard painted wall. An ambient light rejecting screen in a room with uncontrolled daylight can maintain usable contrast levels that a standard white screen simply cannot. And the wrong screen gain for your projector's lumen output can introduce hot spots, color shift, and a narrowed viewing angle that affect everyone outside the center seat.
Room type and use case are the first filters. A dedicated cinema room has different requirements than a bonus space that doubles as a living room. A room that cannot be fully darkened has different requirements than one with complete light control.
Fixed-Frame Screens
A fixed-frame screen is a fabric projection surface stretched and tensioned across a rigid aluminum frame. The frame mounts permanently to the wall. Nothing retracts or rolls. The result is the flattest, most consistent projection surface available in the consumer market.
Because the frame holds the fabric under constant even tension, there is no wrinkling, sagging, or wave across the surface. These surface irregularities introduce subtle image distortion that becomes visible at close-to-screen viewing distances, particularly with high-resolution projectors where you can actually resolve fine detail. For a dedicated room where image quality is the primary goal, fixed-frame is the standard choice.
The limitation is exactly what makes it work: the screen is always visible. A fixed-frame screen in a room that also functions as a living room, guest room, or multipurpose space will be present and visible whenever the projector is off. Some homeowners find this acceptable; others find that a large rectangular fabric panel reads as an intrusion when not in use.
Fixed-frame screens are also easier to install correctly than any screen type that moves. There is no motor, no tensioning mechanism, no alignment system to calibrate. You mount the frame, stretch the fabric, and the surface is done.
Motorized Pull-Down Screens
A motorized pull-down screen retracts into a housing when not in use. The housing mounts at the ceiling line (or slightly below it) and the screen descends on command, via remote or smart home integration, when you want to use it. When the projector is off, the screen disappears.
For shared spaces, this is the practical solution. A family room, living room, or bonus room can read as a normal room when the screen is retracted and transform into a cinema when it drops. Bay Area homes, where dedicated rooms are less common than in newer construction with basements, make pull-down screens a frequent choice.
The tradeoff against fixed-frame is surface consistency. Motorized screens use tension springs or side channels to keep the fabric flat as it descends, but they are more susceptible to subtle wave and bow across the surface than a rigid fixed frame. For most viewing distances and projector resolutions, this difference is not visible. At very close viewing distances, or with 4K projectors where fine detail is resolvable, the flattest possible surface makes a difference.
The housing also requires ceiling depth and ceiling clearance. Standard cassette housings need four to six inches of ceiling depth for the roll. In older Bay Area homes with ornamental trim or lower ceiling lines, clearance can be tight.
Tab-Tensioned Screens
A tab-tensioned motorized screen adds a tensioning system to the pull-down mechanism. Small tabs or wires run down the sides of the screen fabric and connect to the lower bar, maintaining consistent lateral tension as the screen extends. The result is a motorized screen that stays significantly flatter than a standard spring-tensioned drop.
Tab-tensioned screens sit between standard motorized and fixed-frame in both price and performance. They offer more surface flatness than a standard pull-down while still retracting out of sight. For rooms where pull-down is required but image quality is a priority, tab-tensioned is the right category.
Ambient Light Rejecting Screens
Ambient light rejecting (ALR) screens use specialized surface materials, typically microstructured or layered optical films, to reflect projector light toward viewers while rejecting ambient light arriving from other angles. The physics is straightforward: a projector mounted at or below screen level throws light at a downward or horizontal angle, and the screen material reflects that light toward viewers. Light from ceiling fixtures, windows, and floor lamps comes from different angles and is not reflected toward the viewing position.
The practical result is that an ALR screen can maintain usable image contrast in a room with ambient light that would completely wash out a standard white screen. This makes ALR screens the right choice for spaces that cannot be fully darkened: a living room with afternoon sun, a bonus room with a skylight, a home cinema built in a semi-converted space where complete window coverage is not possible.
ALR screens have real limitations that are worth understanding before purchasing. The optical structures that enable angular light rejection also narrow the viewing cone: viewers seated at wide angles from center may see a dimmer, shifted image. ALR screens are also more sensitive to the projector's throw angle than standard screens; the projector placement needs to match the screen's design specifications to get the benefit the coating is designed to provide. And for rooms with excellent light control, a standard screen material will often outperform ALR at a lower cost because ALR's gain is optimized for the rejection tradeoff, not pure reflectivity.
Painted Walls as a Projection Surface
A dedicated projector screen paint applied to a smooth, properly prepared wall can produce a very good image. The advantages are cost (paint is significantly less expensive than a screen of equivalent size) and seamless integration with the room design.
The qualifications are significant. The substrate must be smooth. Bay Area homes with Victorian-era plaster walls, stucco, or textured finishes will require surface preparation before screen paint produces acceptable results. Standard plaster texture visible under raking light from a projector becomes visible texture in the projected image. The prep work required to smooth a plaster wall to the standard needed for a quality projection surface is not trivial, and in some cases the cost of that preparation exceeds the cost of a modest fixed-frame screen.
Wall color and reflectance also matter outside the painted area. If the screen paint covers only the screen area and the surrounding wall is a different color, the frame boundary can affect perceived contrast. And unlike a screen fabric with defined gain characteristics, painted surfaces vary by paint formulation, surface prep, and application quality.
Painted walls are a practical option for casual or budget-first installations, for very large screen sizes where fabric screens become expensive, or for spaces where a permanent screen structure is not desirable. For a room where image quality is the design priority, a fixed-frame screen on a properly mounted surface will outperform a painted wall at comparable sizes.
Screen Material and Gain
Gain is the single most misunderstood screen specification. It measures how a screen reflects light relative to a standardized white reference surface. A 1.0-gain screen reflects light evenly in all directions. A 1.5-gain screen reflects more light toward the center viewing position, which increases apparent brightness for viewers in the center but reduces brightness and shifts color for viewers seated at wider angles.
The appeal of high gain is brightness. A 1.6-gain screen makes a dim projector appear brighter. The problems are hot-spotting (a visible bright spot at the center of the image corresponding to the projector's position), narrowed viewing cone, and color shift at off-axis positions.
For projectors with 2,000 or more lumens in a properly darkened room, a 1.0 to 1.2 gain screen is the right choice. The even reflectivity preserves the projector's color accuracy and allows flexible seating arrangements. A higher gain screen is appropriate when the projector is genuinely underpowered for the room, when seats are concentrated at center, or when room considerations prevent optimal light control. It is not a universal quality improvement.
Matte white materials at 1.0 gain are the standard for dedicated rooms with light control. Gray screen materials (typically 0.8 to 1.1 gain) improve perceived black levels and contrast by reflecting slightly less overall light, which is useful when the room's ambient light level is moderate or when the projector has high peak brightness but mediocre native contrast. ALR materials, as described above, use directional optical properties rather than simple gain.
Aspect Ratios: 16:9 and 2.35:1
Aspect ratio describes the proportional relationship between screen width and height. Two ratios are common in home cinema installations.
16:9 (also written 1.78:1) is the standard for virtually all television broadcasts, streaming content, and gaming. A 16:9 screen fills completely with content produced in that ratio, which covers the large majority of what most households watch. Widescreen film content shot in wider ratios (2.35:1 or 2.40:1) displays on a 16:9 screen with horizontal black bars at the top and bottom. Most homeowners choose 16:9.
2.35:1 (cinemascope or anamorphic scope) is the ratio used for theatrical widescreen film releases. A screen built to 2.35:1 proportions fills edge to edge with that content, eliminating the black bars on widescreen movies. The tradeoff is that 16:9 content then displays with vertical black bars on both sides, or with the image cropped or zoomed to fill the screen.
Cinemascope screens are the right choice for rooms built primarily around film viewing, where most content is theatrical and the owner accepts the display compromise for TV and gaming content. The alternative is an anamorphic lens combined with a 2.35:1 screen, which allows the projector to fill the full screen width with scope content while zooming down to a 16:9 image height for standard content. This is a more technically complex and expensive solution but eliminates the display compromise.
Most rooms in Bay Area homes, especially converted bedrooms or bonus rooms used for a mix of content types, are better served by a 16:9 screen.
Sizing a Screen for Your Room
Screen size is determined by two inputs: the throw distance available for your projector and the seating distance from the screen.
For seating distance, a widely cited guideline (developed from cinema industry standards and adapted for home use) suggests that the ideal viewing distance falls between 1.5 and 2.5 times the screen's diagonal measurement. At 1.5 times, you are close enough to fill your field of view with the image in a way that is genuinely immersive. At 2.5 times, you are at the outer edge where the image starts to feel more like a television and less like a cinema.
For a room with 13 feet of seating distance, that guideline suggests an optimal screen diagonal between 62 and 104 inches, with the center of that range (around 80 to 90 inches) being comfortable without being overwhelming. For a room with 18 feet of seating distance, the range extends to 86 to 144 inches.
Throw distance sets the upper limit from the projector side. Your projector's throw ratio (a specification found in its documentation) multiplied by the screen width gives you the required throw distance. A projector with a 1.5 throw ratio needs 15 feet of throw distance to fill a 10-foot-wide (120-inch) screen. If your room allows only 12 feet of throw, the maximum screen width that projector can fill is approximately 8 feet (96-inch diagonal in 16:9).
Bay Area conversion rooms, where the available depth is often 12 to 16 feet, typically support screens in the 90- to 120-inch range with standard-throw projectors and up to 130 to 150 inches with short-throw units at the same room depth.
The home theater room dimensions guide covers throw distance and seating calculations in detail alongside the room layout decisions they interact with.
Screen Placement and Wall Condition
Screen height should place the center of the image approximately at the eye level of seated viewers. For a standard 36-to-40-inch seating eye height, that means the center of the screen surface should fall around 36 to 40 inches from the floor, putting the bottom edge of a 54-inch-tall 16:9 screen at roughly 9 to 13 inches from the floor. Many installations mount the screen higher than this to clear furniture, but higher mounts increase neck angle and reduce long-session comfort.
For fixed-frame screens, the wall must be structurally sound and reasonably flat. Mounting a heavy frame to lath-and-plaster walls, which are common in pre-1960 Bay Area homes, requires locating studs or using appropriate hollow-wall anchors rated for the combined weight of frame and fabric. A 120-inch fixed-frame screen can weigh 40 to 80 pounds depending on frame material and construction; the mounting must account for that load.
For the acoustic design relationship between screen and speakers, the home theater acoustic panels guide addresses how speaker placement behind or alongside the screen interacts with treatment choices.
Frequently Asked Questions
What screen size do I need for my home theater?
A widely used guideline is to sit between 1.5 and 2.5 times the diagonal screen measurement from your viewing position. For a 100-inch screen, that means 12.5 to 20 feet of viewing distance. In most Bay Area conversion rooms with 12 to 15 feet of depth, an 80- to 110-inch screen is the practical range. Going larger than your throw distance and seating depth can support produces a fatiguing image, not a more cinematic one.
What is screen gain and does a higher number mean better quality?
Gain measures how a screen reflects light compared to a flat white reference surface. A 1.0-gain screen reflects light evenly in all directions. A 1.4-gain screen reflects more light toward the center of the viewing area, which boosts apparent brightness but narrows the sweet spot. Higher gain is not inherently better: it amplifies projector hot-spotting, introduces a narrower viewing cone, and can create color shift at wider angles. For projectors with 2,000 or more lumens in a light-controlled room, a 1.0 to 1.2 gain screen is usually the better choice.
Is a painted wall as good as a proper projection screen?
A properly prepared and painted wall can produce a very good image, but it has real limitations. Standard white walls reflect light inconsistently and do not control gain. Projector-specific screen paints improve on this but require a flat, smooth substrate. In Bay Area homes with Victorian plaster or textured stucco walls, the surface is rarely flat enough without significant prep work. For a dedicated room where image quality is the priority, a fixed-frame screen will outperform any painted surface at the same screen size.
What aspect ratio should I choose: 16:9 or 2.35:1?
16:9 (1.78:1) is the standard for almost all TV broadcasts, streaming content, and gaming. If your home cinema will be used for a mix of content types, 16:9 is the right choice. A 2.35:1 cinemascope screen is designed for widescreen film content and fills the full screen width with movies shot in that ratio, eliminating the horizontal black bars you see on a 16:9 screen. The tradeoff is that 16:9 and 4:3 content then displays with vertical black bars on the sides. Most homeowners choose 16:9 for versatility, with cinemascope reserved for rooms built primarily for film viewing.
Do I need an ambient light rejecting screen?
Ambient light rejecting (ALR) screens are designed for rooms that cannot be fully darkened. They use microstructured or optical coatings to accept light from the projector's throw angle while rejecting light coming from other directions (windows, ceiling fixtures, floor lamps). If your home theater room has good light control (blackout shades, no skylights, no light bleed from adjacent spaces), a standard screen material will likely perform better than ALR at a lower cost. ALR is the right tool when you cannot darken the room, not a universal upgrade.
Choosing the Right Screen for Your Space
The screen decision follows from the room decision. A dedicated cinema room with full light control points toward a fixed-frame screen at 1.0 to 1.1 gain. A shared living space that cannot be blacked out points toward a motorized pull-down with ALR material. A room with good light control but a need to retract the screen when not in use points toward a tab-tensioned motorized screen.
Getting the screen right means matching it to the projector's output, the room's light conditions, the seating geometry, and the wall's structural reality. Those variables, not the spec sheet or the price point, determine what will actually perform.
The equipment guide hub covers how screen selection connects to projector choice, speaker placement, and receiver configuration as part of an integrated room design.
For Bay Area homeowners weighing these decisions against the specific constraints of older housing stock, the Bay Area home theater planning guide addresses the local variables that national guides do not: wall construction, electrical capacity, and the permitting context that shapes what a dedicated room project actually involves here. The complete guide library is at Bay Area Home Cinema.